Showing posts with label home improvement. Show all posts

Wednesday, April 11, 2012

Highest Accomplishment

I've been in my house right at one full year and over the past 365 days I have made a lot of improvements. For some of these improvements I was fairly confident when I started. For others I was weary but still knew deep down I could do it. A few weeks ago, for the first time, I attempted a project and wasn't sure if I would be successful.

I bought new ceiling fans for my bedroom and my roommate's bedroom before I even signed the closing papers on my house. The ceiling fan in Katie's room looked like something out of a horror movie and needed to be replaced immediately. The ceiling fan in my bedroom was fairly new, but it wasn't exactly my style and it gave off barely any light.

Thanks to the help of friends Jessi and Jarrod, the ceiling fan in my roommate's room was replaced within the first week of living in the house. However, we didn't have time to get to my fan and a few months later Jessi and Jarrod moved away, so here we were, one year after move-in day and the new ceiling fan was still sitting in the garage.
I finally worked up the courage to try and make the installation by myself and moved the box from the garage to my bedroom. I figured that it would still be a few weeks if not months before I needed the fan and I rarely used the light because it was so worthless so if the project went awry, then I had plenty of time to put in a frantic call to a friend or to call a handy man before I was in desperate need of my new fan. 

First step was taking down my existing ceiling fan.  
To my surprise, I was able to uninstall it without too much of a hassle. 
Now it was time to assemble the new fan. All was going well until I once again stripped the screws that were in the motor. How does this happen to me? I started having flashbacks to the last time this happened and knew it was best if I just stopped and asked for help. See, I am learning.   
This time it wasn't Michael, but Joey who came to the rescue. I just wanted to spread the "helping Dani" duties out evenly among the Alethia Church pastors. Plus, I was headed to the Clark's house for my small group later that week anyway. So I just went a little early, took the fan motor, and let Joey work his magic. I watched with a look of defeat as it took Joey all of 10 seconds to remove the screws. 

With the screws removed I could continue to assemble the fan and then mount it on the ceiling. The mount that came with the new fan wasn't working too well so I uninstalled it and then reinstalled the old mount. Why did I not do that in the first place? 

Anyway, after everything was in place it was time to start on the wiring. I did my best to match wires safely and properly then made sure the fan was safely secured to the ceiling. To my amazement, when I restored the power and flipped the switch, the light worked! I was giddy - like a 12 year old with a crush on the high school quarterback. 
When I went to test the fan, my giggles quickly faded - no such luck. I was so close yet so far. I had a feeling the wiring would take a little trial and error but at least the light was working. After a few failed attempts at the fan, I gave up and decided to save that battle for another weekend. However, the last thing I wanted was for another year to go by and this fan still not be in working order, so I left the ladder in my room as a reminder to get this project finished. I would not move the ladder until I had a working fan.

The ladder sat in my room for two weeks solid. Finally I was ready to go a second round with the wiring. After about 45 minutes and some electrical tape, I had a working light and fan. This was my proudest moment as a homeowner. 

This was probably my least favorite of my projects so far.  I think ceiling fans have now made it on my This I Refuse to do After Marriage list. Now I just need to find a husband, which may be easier than installing another fan. 

However, even through all of my complaining, the fact that I now know I can do this has opened my imagination a bit. The lighting fixtures in my house are terrible, especially the ones in the kitchen and living room. Now that I know replacing them is within my realm of possibility, I'm even more motivated to find their replacements and get to work. 

Saturday, April 7, 2012

Down the Hall

Now days there are very few walls in my house that have not been touched. When I moved in I remember saying the paint in the entry and hallway wasn't that bad and didn't need to be touched, at least for a few years. However, after transforming the living room, the hallway and entry looked so dingy and dirty.

Originally I wanted to tackle the hallway and entry during the same weekend I painted the living room, but it just didn't happen. Now, here we were, months later and the paint was still sitting in the garage waiting to be used. 

After taking a few weeks off from major home improvements in order to rest and work on smaller projects, it was time to tackle a little more painting.

There really aren't too many interesting things to say about a hallway and entry so I'll let the photos do the talking.

Move-in Day

Before
 After

Before
 After

Before
 After

Before
 After

Saturday, February 25, 2012

Come Thou Fount

Well, it finally happened. I knew it would. Pintrest disappointed me. However, I do have a new piece of art hanging in my home, so I guess the endeavor was not a complete loss. Either way, last week's simple project quickly turned into a traitorous journey.

Thanks to Pintrest and HGTV, my living room is finally filling with unique touches that make it feel like my home. However, as I stand back and look at my creation, it becomes more and more obvious that my house is seriously lacking in the area of inspiration; meaning there are many things that add style, color, beauty, warmth and conversation topics, but few things (if any) that offer encouragement, affirmation or personal challenge. I realize I could be asking a lot from a canvas and paint, but I do know this - God's Word changes people and I would rather live in a house where the walls change me then in a house where the walls change to match a trend.

My journey began when I found a perfectly cut piece of particle board in my garage. I knew it would be the perfect size and shape for a new project. I know particle board is cheap, but it has a really cool look to it and I was excited to see the transformation.
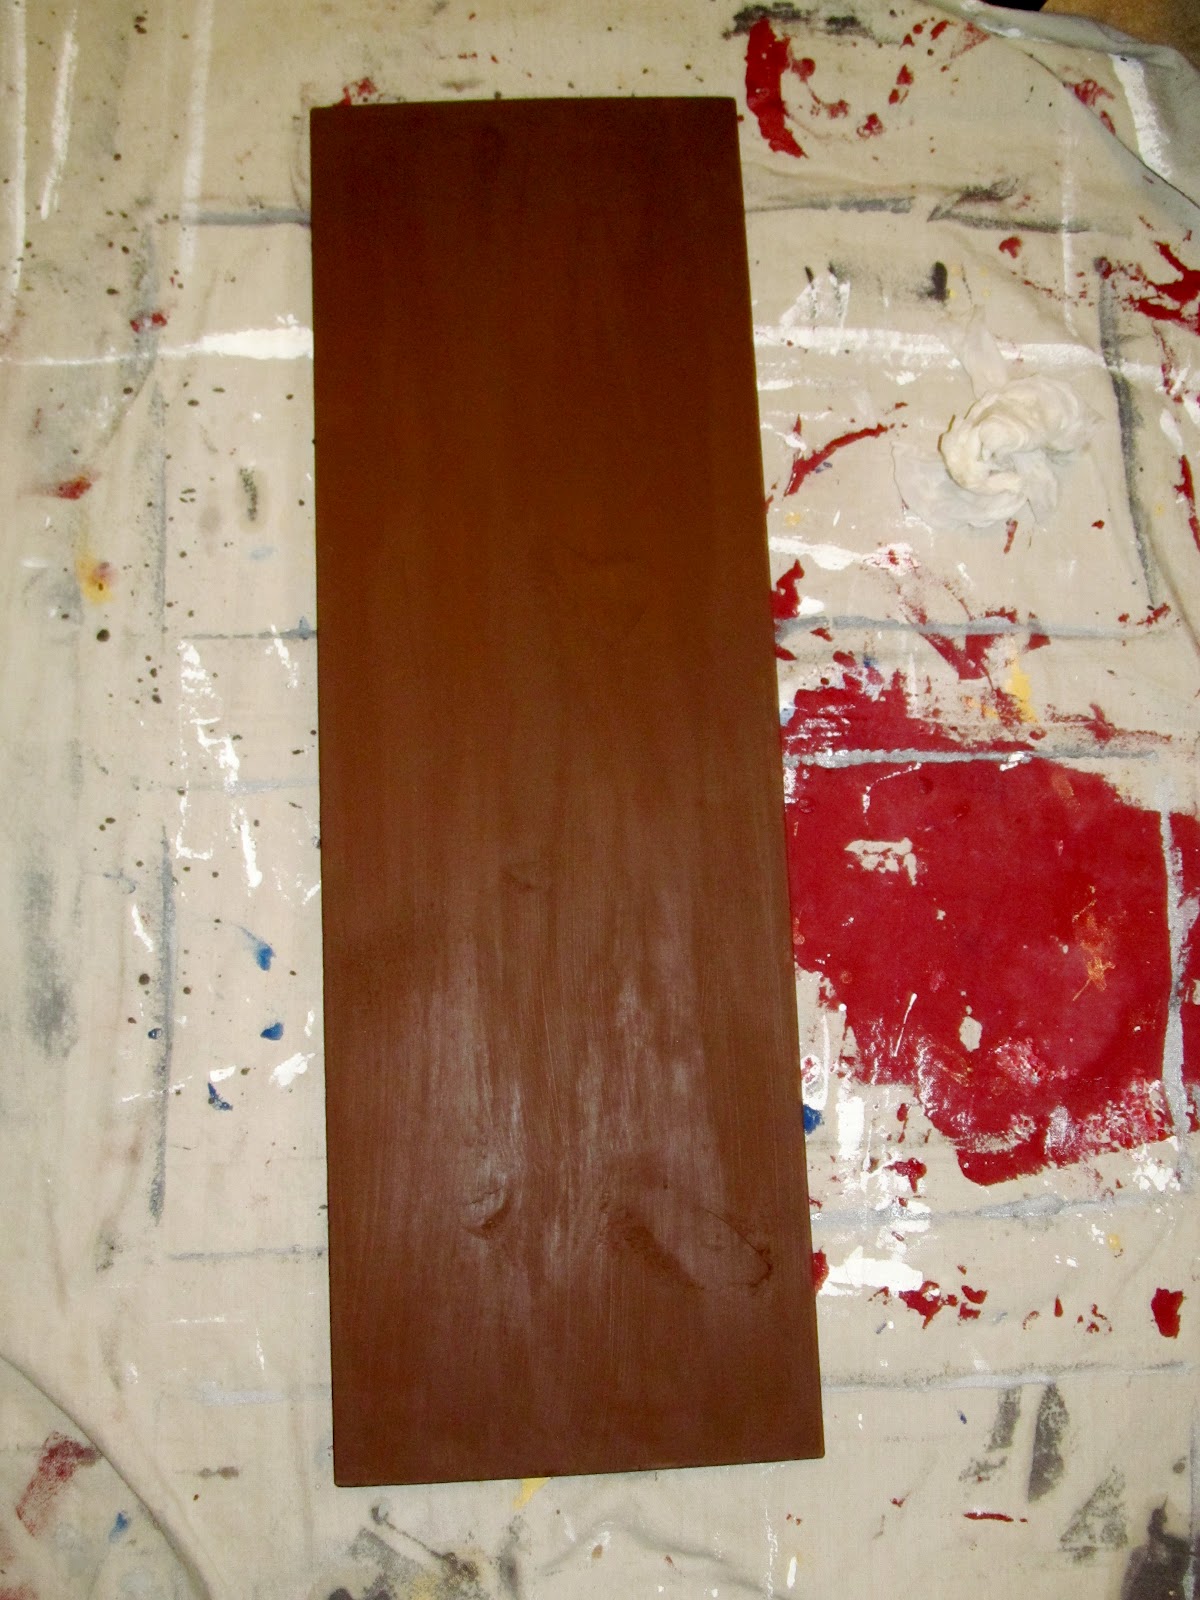
Because the board was not quite the shade I wanted, I stained it with one coat of cheap wood stain I got at Wal-Mart.
Then I made a heart shaped stencil out of paper and taped it to my board.
After that I painted around the stencil just to give the heart a little depth and dimension (and because that is what someone did on Pintrest and I really liked their end product).
Next it was time to fill in the heart with red paint.
After that came the tricky part. I knew I wanted one of my favorite lines from Come Thou Fount (an old hymn) next to the heart and I saw a Pintrest tutorial on easily transferring words/letters/phrases to wood. Unfortunately, when I got to this part of the project I realized my printer was out of ink and then when I bought new ink I realized my printer (that hadn't been used since 2009) was in fact broken and didn't have the setting I needed anyway. So I ended up creating and styling the phrase in Microsoft Word and then emailing it to myself at work so that I could just print it out on Monday morning.

Thankfully I started this project in my home office so I could leave everything out, close the door, and come back to it later in the week.

After printing out one of my favorite lines from one of my favorite hymns and using a printer setting to print it backward, a Pintrest tutorial said all I had to do was place the print out face down on the board, paint over it with water, and then rub over the letters with a marker cap.
Unfortunately, when I pulled back the damp paper, I realized the letter transfer didn't work at all. What a bummer.

I was pretty determined to salvage the project though so I grabbed some tracing paper, copied the words by hand onto the tracing paper, made stencils out of the words, and then traced them on the board using a black pencil. Not ideal, but a workable solution.

Thanks to a few years of art classes throughout my lifetime, I have acquired a pretty steady hand along with some nice paint brushes and I was able to fill in the letters pretty easily using some watered down, black, acrylic paint.
Not as great as I was hoping for, but not too bad for basically free handing the whole thing.
Finally, after letting everything dry, I rubbed some sand paper over the whole thing to rough it up a little bit. Then I combined a few drops of white paint with a clear gloss and brushed it over the entire board.
Just to add a little more interest, I added some twine to the top. Helpful hint: buy the real twine not the craft twine because it's a fraction of the price.
I wasn't thrilled to death with the final product, but I spent basically nothing so I can't really complain.
What do you think? 

Friday, February 24, 2012

Update: Mantel Makeover

You may remember my mantel makeover from a few weeks ago. After a few more trips to Hobby Lobby and finally unpacking a box that was originally packed in May of 2009, I have made a few additions.


What do you think?

Sunday, February 12, 2012

Pintrest Inspired: Flower Power Art

Thank you Pintrest for giving me inspiration and ideas for DIY art pieces for my house, particularly my living room. Almost a year after moving in, my living room walls are still pretty bare. It's just hard for me to find things that 1) match my decor 2) I like enough to hang in my house and 3) don't cost a billion dollars. Anyone else with me?

After the recent Pintrest inspired success of my mantel makeover, I was ready to tackle another "pinned" art project.

First was a trip to Wal-Mart and Hobby Lobby for a few supplies.

Second was trip to the garage for another shelf that formerly belonged to my built-in bookshelf.
Next I painted it white. It took three coats to evenly cover the brown paint.
Before I started to add anything else to the front, I figured I should probably go ahead and add a sawhook to the back so that I could hang it when I was done.
Next up, gluing crayons to the bottom of the board. I used a hot glue gun and it worked really nicely.
Then it was time for the most risky part of the project. I had my doubts this would even work. The goal was to use a hairdryer to melt the crayons and then have the colored wax naturally drip down the length of the board to create a cool design (hopefully). 
To my amazement, after less than 2 minutes the wax started spilling down the board.
What I did not account for, was the fact that there is a little bit of a technique to it. Plus, wax splatters, a lot! If you are going to recreate this project yourself, I would strongly recommend that you melt the crayons outside or in the garage.

Anyone know how to get wax out of fabric? 
I couldn't figure out how to get it out either. 

So I just turned it around. Shh...don't tell.
good as new :)

After a little clean up from the out of control splatters and waiting a little bit for the wax to completely dry, it was time to glue flowers to some of the "stems" created by the wax drips. I bought three artificial flowers from Hobby Lobby, cut the stems off, and then used the glue gun to hold them in place.

I have to say I was pretty impressed when it was all said and done. 

The best part of this project: 
board - free
white paint - $2.47 (and I still have at least half of the bottle left over for future projects)
crayons - $2.37
flowers - 83 cents each (half off at Hobby Lobby - for real, if you learn one thing from my blog, please let it be this: DO NOT EVER pay full price for anything at Hobby Lobby!)

Cost of entire project = $7.33